Professional-Grade Knowledge
A residential garage door is a precisely engineered counterbalance system — the heaviest moving object in most American homes, cycling thousands of times per year under forces that can exceed 400 pounds of stored energy. Understanding that system is the difference between confident decisions and costly mistakes. These tools, diagrams, and references are built by working TNGD technicians using the same DASMA formulas and ASTM wire specifications we rely on in the field every day.
Understanding Your Garage Door System
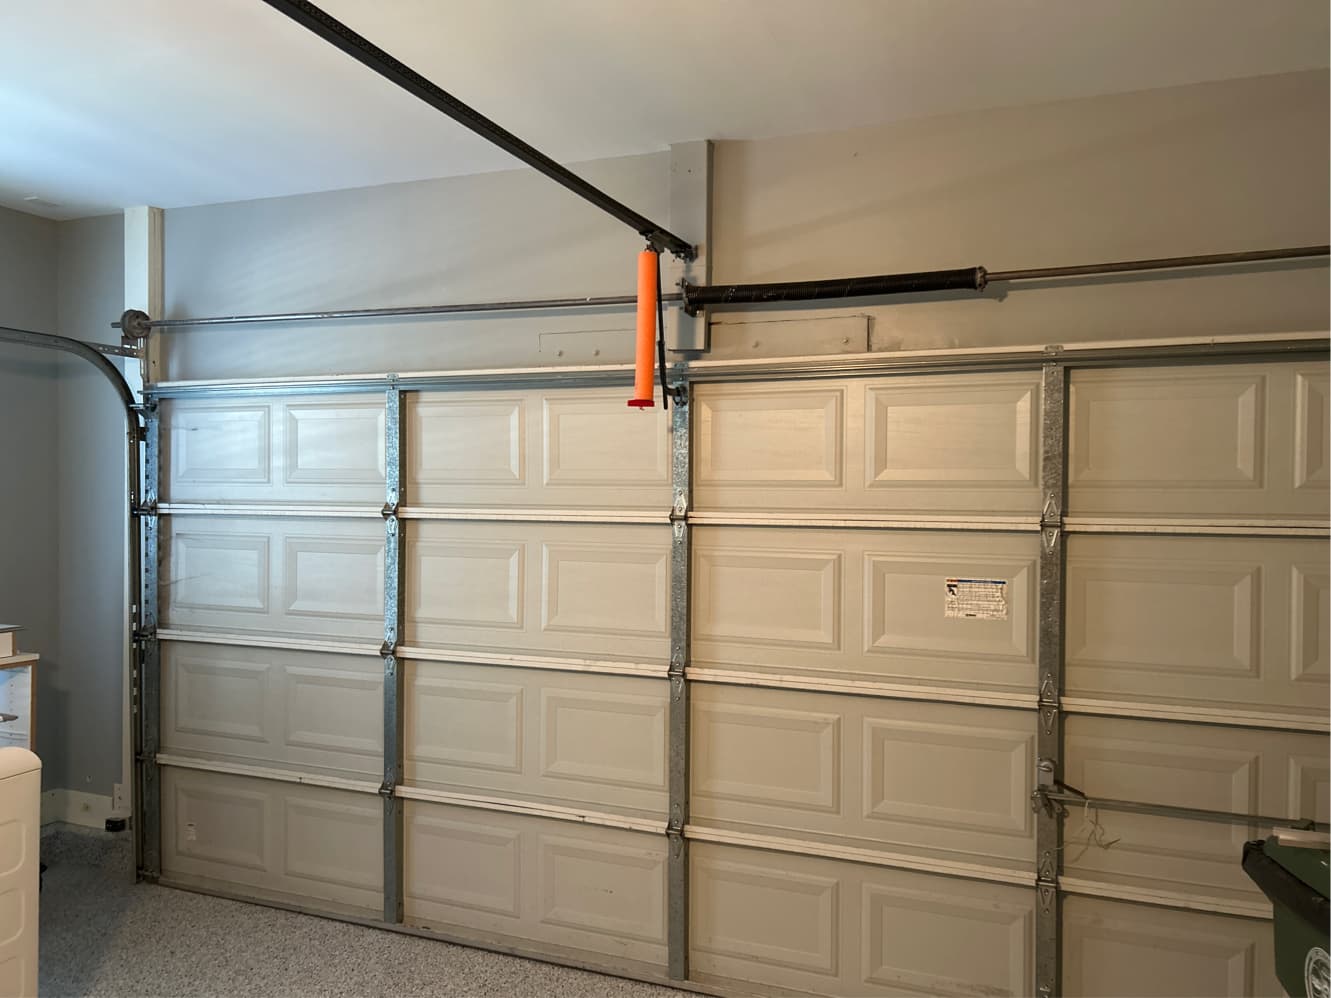
Every sectional garage door operates on the same fundamental principle: counterbalance. The springs — whether torsion-mounted above the opening or extension-mounted along the horizontal tracks — store exactly enough energy to offset the weight of the door. When properly balanced, a 200-pound door should feel like it weighs less than 10 pounds to lift by hand. That engineering precision is what makes the system both elegant and potentially dangerous.
The counterbalance system does not push or pull the door — it neutralizes gravity. The springs wind (torsion) or stretch (extension) as the door closes, absorbing energy. When the door opens, that stored energy releases, doing the heavy lifting through cable drums, lift cables, and pulleys. The opener motor, despite what most homeowners assume, contributes less than 10% of the actual lifting force. Its primary job is automation and safety — the springs do the real work.
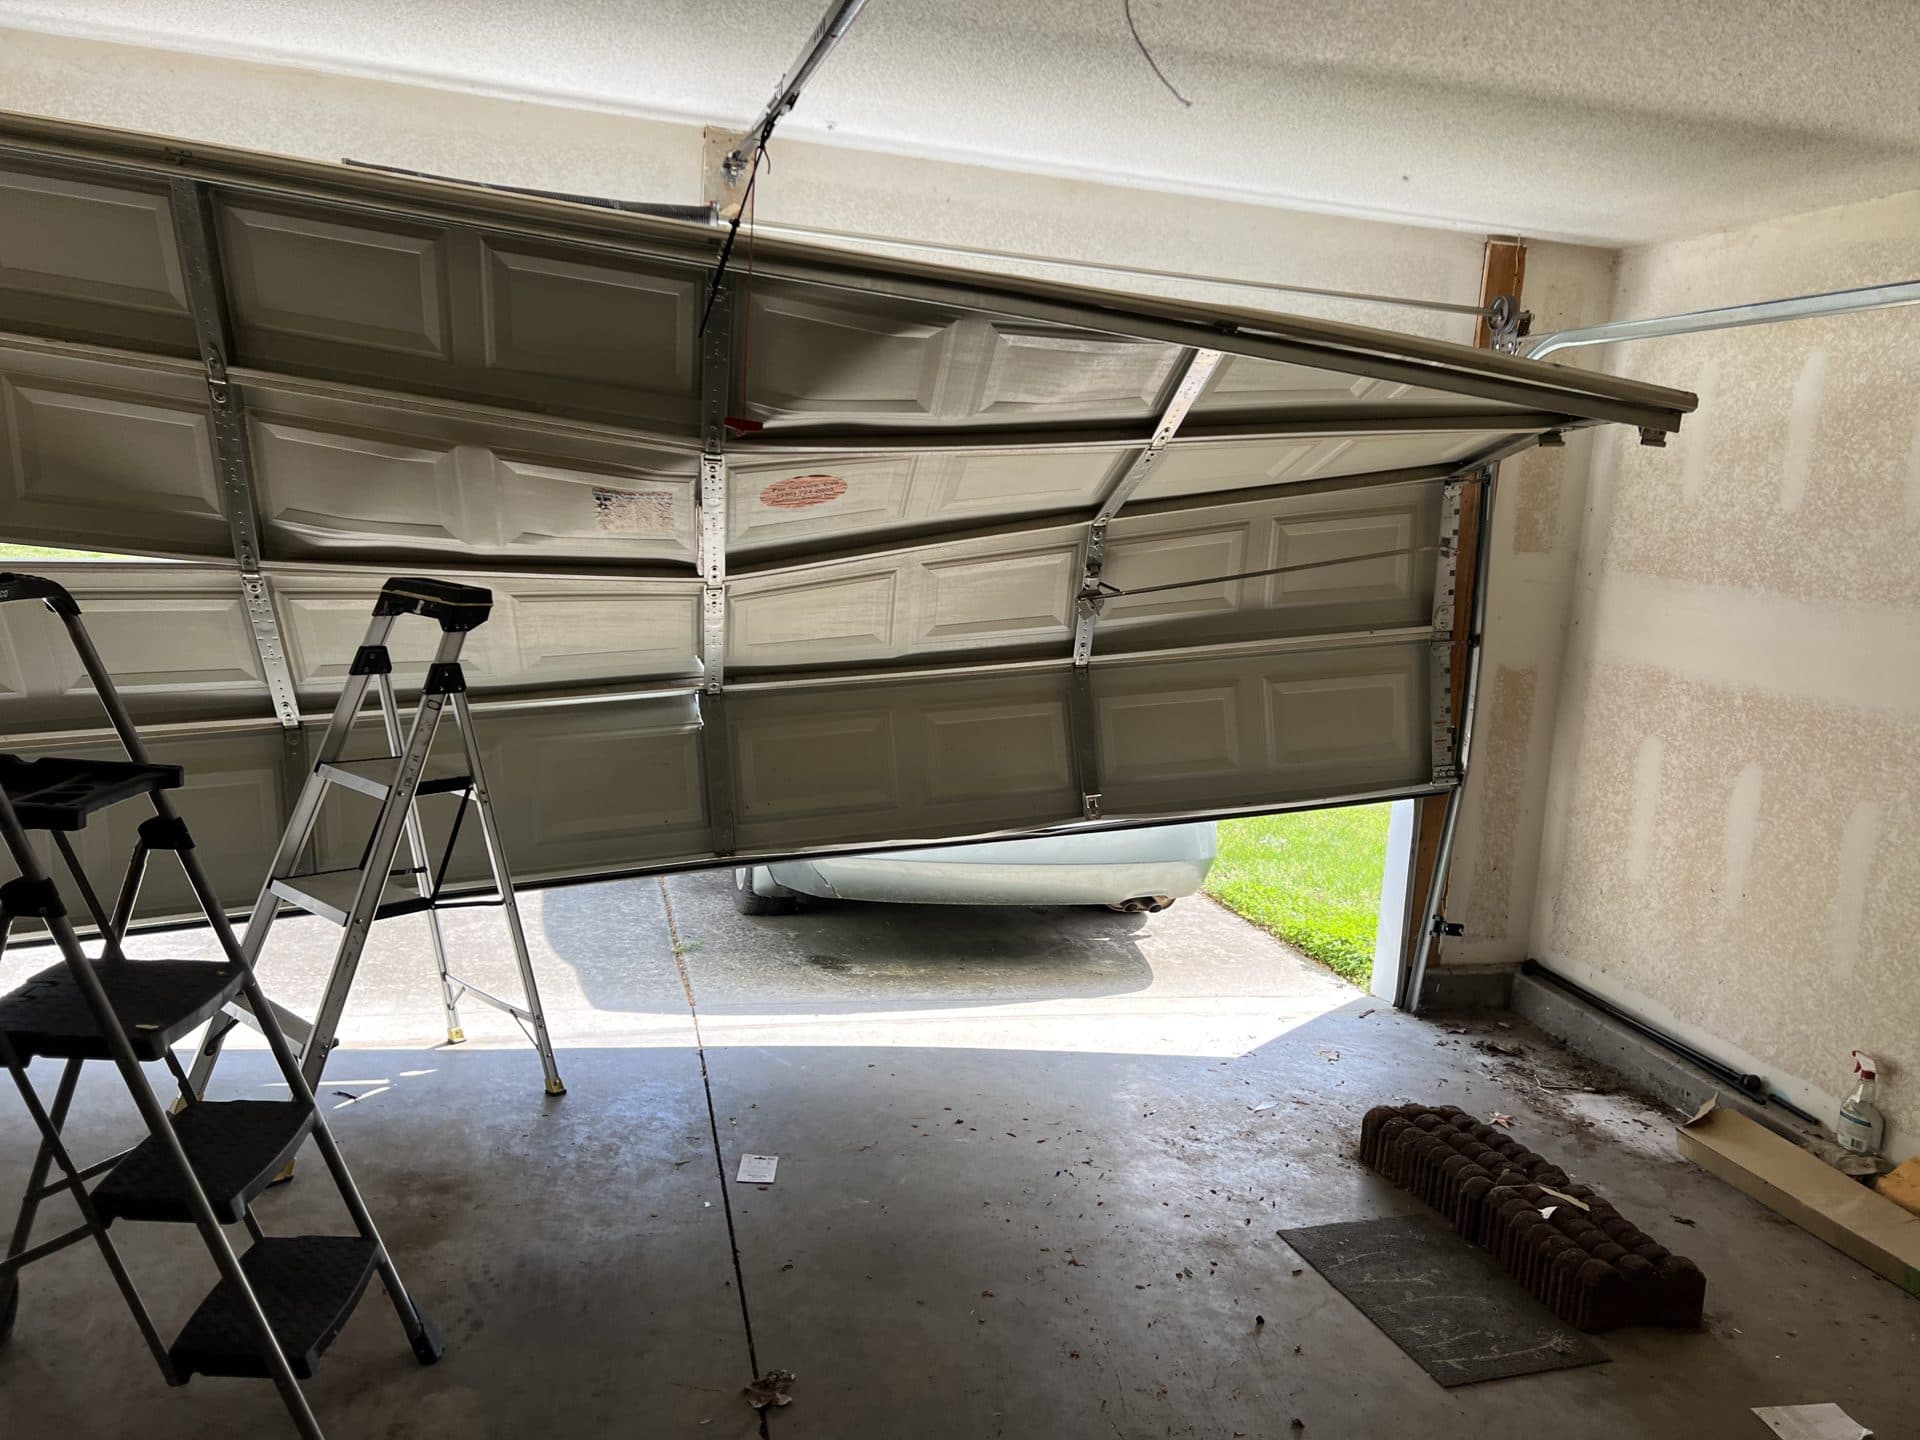
This is why a broken spring means a door that will not open, even though the opener motor still runs. The motor simply cannot overcome 150–250 pounds of unbalanced door weight. Understanding this relationship is the foundation of every diagnostic, repair, and installation decision your technician makes.
Torsion vs. Extension
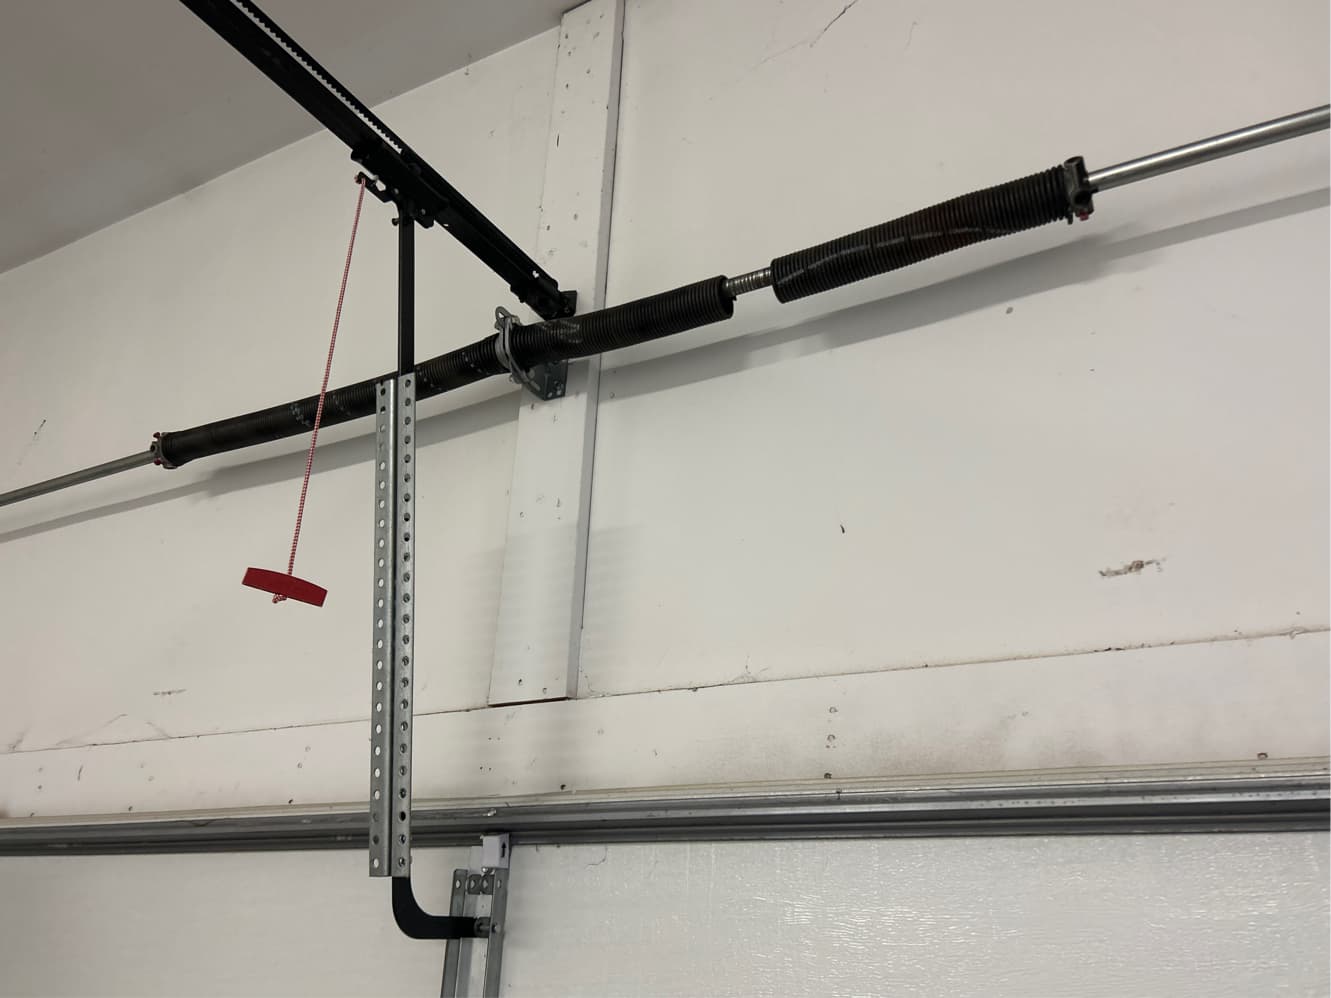
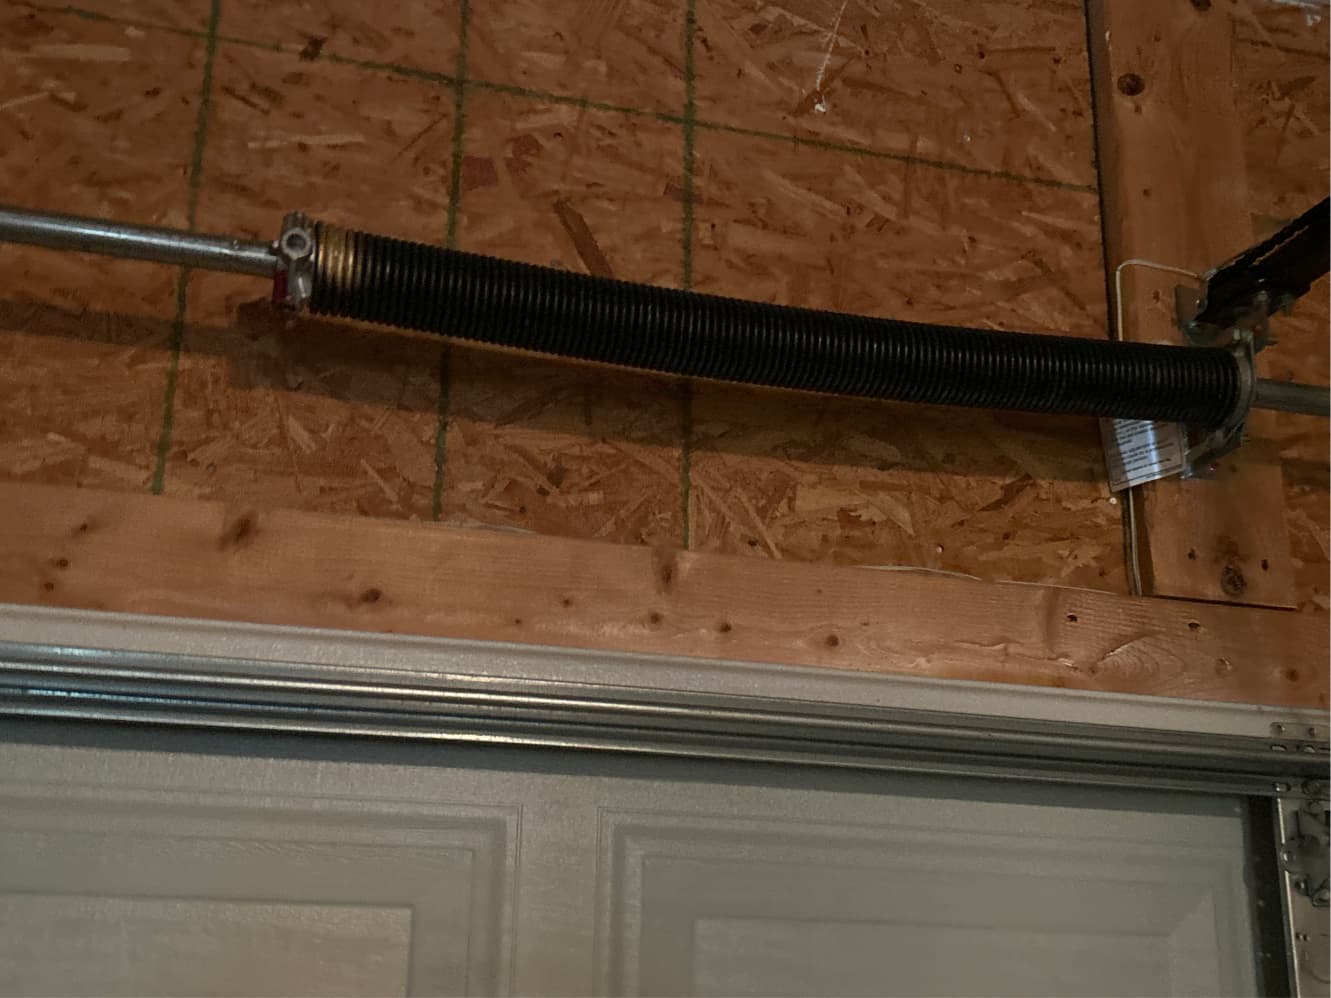
Torsion springs mount on a shaft above the door and store energy by twisting — they produce torque. Extension springs mount along the horizontal tracks and store energy by stretching — they produce linear force redirected through pulleys. Torsion systems provide smoother, more balanced lift and last significantly longer (10,000–100,000+ cycles vs. 5,000–15,000 for extension). Most modern residential installations use torsion springs; extension systems are found on older doors and budget installations.
Why Springs Fail
Every spring has a finite cycle life determined by the stress ratio between its operating load and the wire's ultimate tensile strength. Oil-tempered steel wire (ASTM A229) fatigues predictably — a standard 10,000-cycle spring operating at a 55% stress index will last approximately 7 years at 4 cycles per day (the national average). Higher stress means fewer cycles. Temperature swings, corrosion, and improper installation accelerate failure. When a spring breaks, it releases its stored energy instantaneously — which is why replacement is strictly a professional operation.
A standard residential garage door contains 25–40 individual components working in concert. The door itself is built from horizontal sections (panels) connected by numbered hinges — #1 at the bottom, #2 in the middle, #3 at the top — each with progressively greater roller stem offset to accommodate the track radius. Rollers ride inside vertical tracks bolted to the door jambs, curve through a 12″ or 15″ radius section, and continue along horizontal tracks suspended from the ceiling by angle-iron hangers. Every bracket, hinge, and roller has a specific job, and understanding what each part does helps you communicate clearly with your technician and recognize when something needs attention before it becomes an emergency.
Garage Door Anatomy
Identify every component of a residential garage door system. Two dedicated diagrams isolate the torsion spring and extension springsystems so you can tell our office exactly what you're looking at — or confirm what needs attention before we arrive.
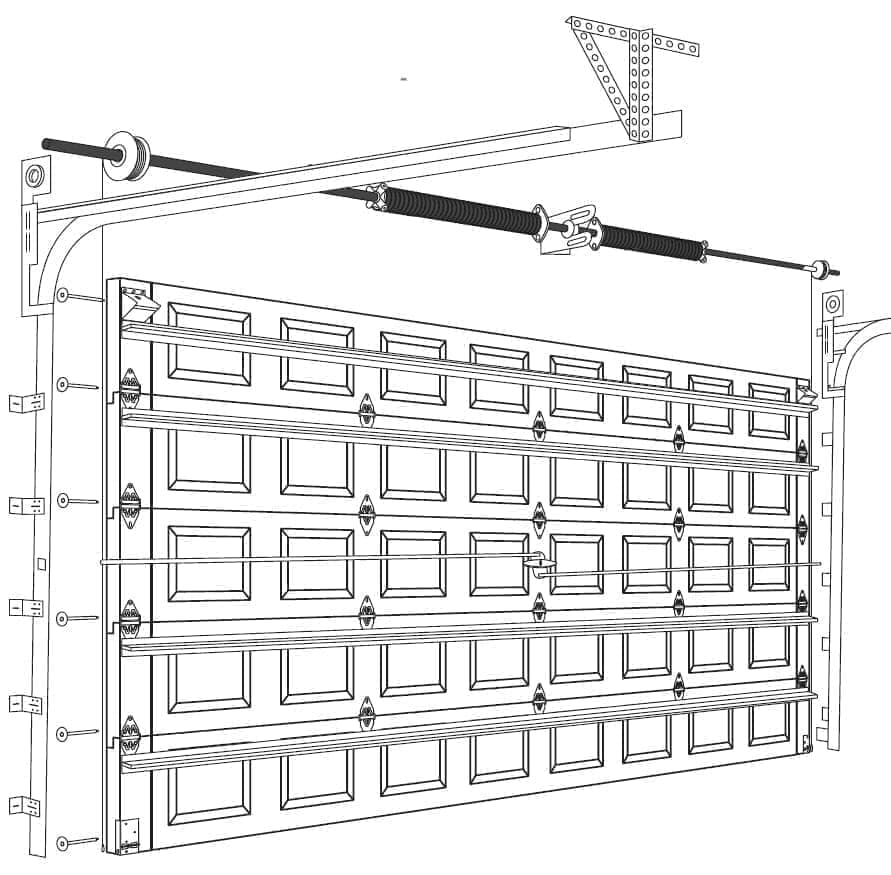
29 interactive components — hover for names, click for details
Click any component dot
29 parts in this view
The Science Behind Spring Selection
Selecting the correct torsion spring is an engineering problem, not a guessing game. The industry-standard metric is IPPT (Inch-Pounds Per Turn) — the amount of torque a spring produces for each full rotation of the torsion shaft. The DASMA formula calculates this from four variables: wire diameter (d), modulus of rigidity (G = 11,500,000 psi for ASTM A229 oil-tempered wire), mean coil diameter (D), and the number of active coils (Nₐ). The relationship is IPPT = (d⁴ × G) / (10.18 × D × Nₐ), where 10.18 is the geometric constant 32/π.
Wire diameter has an outsized effect because it is raised to the fourth power — increasing wire size by just one gauge step can change the IPPT by 20–40%. The spring index (D/d ratio) should fall between 5 and 12 for reliable manufacturing and performance. Below 5, the wire is too thick relative to the coil diameter, creating extreme stress concentrations. Above 12, the spring becomes mechanically unstable.
The Wahl correction factor accounts for the stress concentration on the inner surface of each coil where the wire curves most tightly. Without this correction, calculated stress understates the actual peak stress by 10–25%, leading to premature failure. Every result in our calculator includes the Wahl-corrected stress, the stress index (ratio of corrected stress to ultimate tensile strength), and a cycle life estimate based on empirical fatigue data for oil-tempered wire.

TNGD Spring Calculator
Industry-standard torsion spring sizing: IPPT = (d⁴ × G) / (10.18 × D × Nₐ). Five integrated tools for complete spring system analysis.
Spring Parameters
Measure coil body only — exclude cones
Red cone
Reverse Engineer
Door Weight Reference
Suggested Balanced Weight
83 lbs
4 ga — 0.2253″ wire × 2″ ID × 24″ coil × 2 springs
Spring Properties
Application
Stress & Life
Warnings
High stress ratio — spring life may be below 10,000 cycles.
Professional Use Advisory: Torsion springs store lethal amounts of energy. These calculations are reference tools for qualified technicians. Never attempt spring replacement without proper winding bars, safety equipment, and professional training.
Garage door noise is diagnostic information, not just an annoyance. A grinding sound during travel usually indicates dry or worn rollers — nylon rollers operate at roughly 60% lower decibel levels than steel and last twice as long. A rhythmic popping or banging at the bottom of travel often points to a cable jumping off the drum groove or a hinge binding at the track radius. High-pitched squealing typically means metal-on-metal contact at the hinges or bearing plates. Our noise diagnostic wizard walks you through identifying the type, location, and timing of the sound to narrow the likely cause before you call for service.
Noise Diagnostic Wizard
Identify what your garage door is telling you. Answer a few questions about the sound, and we will pinpoint the likely cause and recommended action.
What type of noise is your garage door making?
Select the description that best matches what you hear.
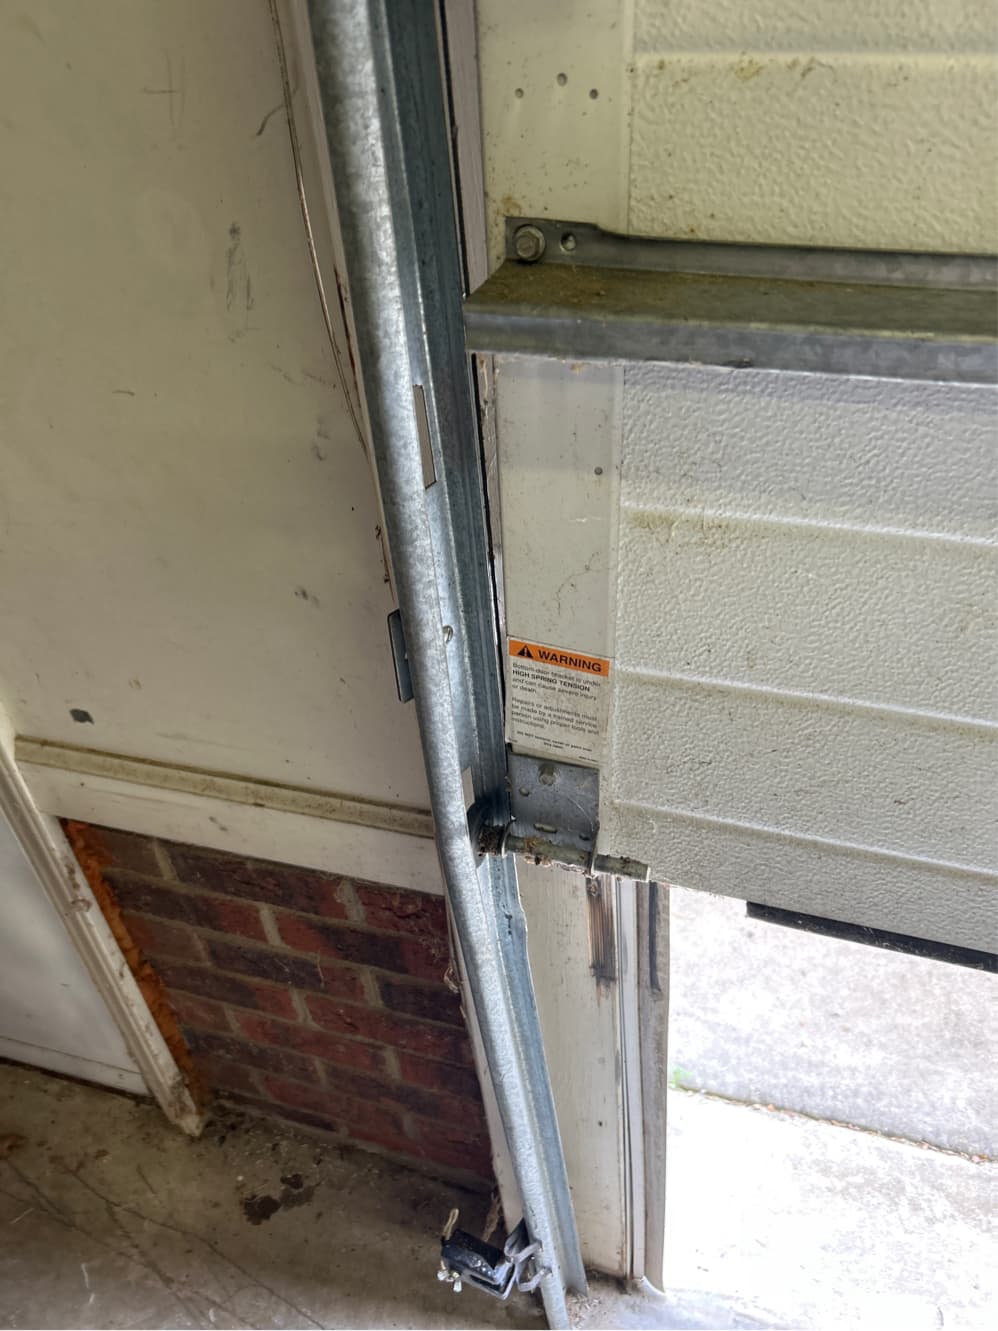
Preventive maintenance is the single most cost-effective investment in your garage door system. A $100 annual tune-up typically prevents $500–$1,200 in emergency repairs. The protocol below covers the five critical maintenance categories: visual inspection, hardware tightening, lubrication, balance testing, and track alignment. Items marked "Pro Only" involve components under tension — torsion springs, cables, and bottom brackets — that require professional tools and training to service safely. Everything else is within reach of a careful homeowner with a stepladder, a socket set, and silicone-based garage door lubricant (never WD-40, which strips existing lubrication and attracts dust).
21-Point Maintenance Protocol
The same inspection protocol our technicians follow on every maintenance visit. Track your progress and know exactly when each task is due.
90%
of emergency garage door calls we receive could have been prevented with this checklist.
Based on TNGD service data — spring failures, cable breaks, and sensor issues caught early save hundreds in emergency repairs.
Done
Remaining
Pro Only
Items marked "Pro Only" require a trained technician.
Springs, cables, and bottom brackets are under extreme tension. Visual inspection is safe; adjustment or repair should only be performed by licensed, insured professionals.
Prefer to Leave It to the Pros?
Our technicians complete this entire 21-point protocol during every tune-up — plus the items you can't safely do yourself.
High-lift conversion extends the vertical track above the door opening before transitioning to horizontal, reclaiming ceiling space for storage, car lifts, or overhead HVAC equipment. The conversion requires larger cable drums (525, 575, or 600 series depending on additional travel), recalculated spring sizing for the increased cable wrap, extended vertical track sections, and modified track geometry. It is a precision retrofit that changes the mechanical relationship between the spring, drum, and cable — not simply a matter of adding more track. Every high-lift job requires a site survey to verify structural support, headroom clearance, and spring compatibility.
High-Lift & Track Conversion Reference
Technical reference for track conversion configurations — what they are, when each applies, and the measurements needed for a proper assessment.
Standard to High-Lift
Extends the vertical track upward before the radius turn and horizontal run. The door travels higher along the wall before going horizontal, freeing ceiling space in front of the door.
Track Configuration
Extended vertical sections + raised horizontal track. The radius section moves up, and longer vertical track sections are installed between the existing vertical and the new radius height.
Best For
Garages with tall ceilings (10–14') where you want to recover ceiling space for car lifts, storage systems, or overhead hoists. Most common conversion we perform.
Headroom Required
Minimum ceiling height = door height + high-lift rise + 18" clearance. Example: 7' door + 3' high-lift = 10' minimum ceiling.
Cable Drum Sizing
High-lift 400 series (standard 4" drums) for rises up to ~42". High-lift 525 series (5.25" drums) for rises of 42–60". High-lift 600 series (6" drums) for rises above 60".
Spring System Impact
Springs must be completely recalculated. Cable travel increases, requiring different IPPT and turn counts. Double-spring (duplex) setups are standard on high-lift conversions.
Critical Measurements for Conversion Assessment
Have these measurements ready before requesting a high-lift or conversion estimate. Accuracy within ¼" matters — these determine which hardware configurations will work.
Door Width
How: Measure the inside of the opening at the widest point, jamb to jamb.
Why: Determines track and spring hardware sizing.
Door Height
How: Measure from the floor to the top of the door opening (bottom of the header).
Why: Determines cable travel, spring turns, and track length.
Headroom
How: Measure from the top of the door opening straight up to the nearest ceiling obstruction (joist, beam, duct).
Why: Determines whether standard, low-headroom, or high-lift hardware is needed.
Ceiling Height
How: Measure from the floor to the ceiling at the door opening and at the deepest point of the garage.
Why: Determines maximum high-lift rise and whether vertical lift is feasible.
Backroom (Depth)
How: Measure from the inside face of the header straight back into the garage to the nearest wall or obstruction.
Why: Must be at least equal to the door height for horizontal track, or twice the door height for vertical lift.
Sideroom
How: Measure from the edge of the door opening to the nearest wall or obstruction on each side.
Why: Standard torsion systems need 3.75" minimum each side. Extension springs need 10" each side.
Considering a High-Lift or Track Conversion?
Our technicians will perform a full on-site measurement, assess structural requirements, and provide a detailed specification — all as part of your free estimate.
Request Conversion Assessment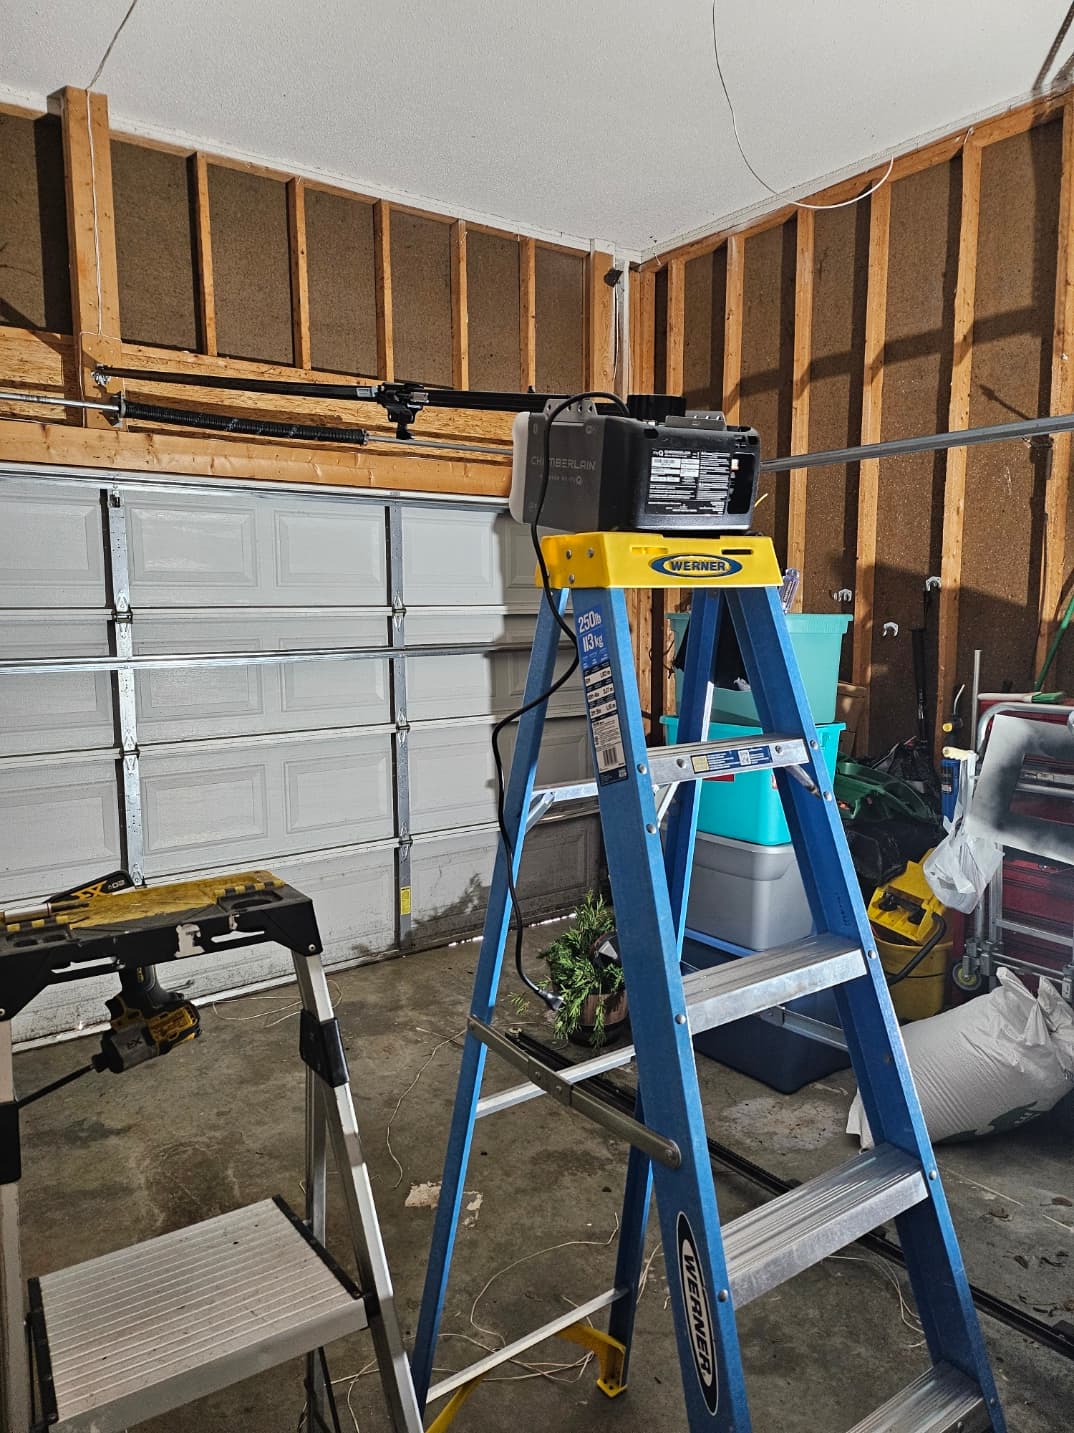
Every video in this library is hand-picked by TNGD technicians from manufacturer channels (Clopay, LiftMaster, Chamberlain, Amarr) and verified industry educators. Each includes editorial notes explaining how the content applies to your specific system and what to watch for. We have removed all DIY installation content — door and motor installation requires professional training, proper tools, and liability coverage. The videos below focus on what homeowners can safely learn and do: programming, maintenance, troubleshooting, and informed purchasing decisions.
TNGD Video Hub
Hand-picked videos from Clopay, LiftMaster, Chamberlain, Amarr, and industry experts. Each video includes TNGD editorial notes explaining how it applies to your system.
Safety Standards & Industry Compliance
UL 325: The Federal Safety Standard
Since January 1, 1993, every residential garage door opener sold in the United States must comply with UL 325, which mandates an entrapment protection device — either photo-eye sensors or a monitored edge sensor. The photo-eye system projects an invisible infrared beam across the door opening no higher than 6 inches from the floor. If anything breaks that beam while the door is closing, the door immediately reverses direction.
Additionally, the opener must include an auto-reverse mechanism: if the closing door contacts a solid object, it must reverse within 2 seconds. These dual-redundant systems have prevented thousands of injuries since their mandate. If your opener predates 1993 or is missing its photo-eye sensors, it does not meet current federal safety requirements.
DASMA & ASTM: Engineering Standards
The Door & Access Systems Manufacturers Association (DASMA) sets the engineering standards for garage door and spring design in North America. Their Technical Data Sheets define the formulas, material specifications, and testing protocols that every reputable manufacturer follows.
Spring wire is manufactured to ASTM A229 (oil-tempered carbon steel) or ASTM A401 (chrome-silicon alloy for high-cycle applications). The modulus of rigidity (G) — 11,500,000 psi for A229 wire — is not an approximation; it is a material property measured through standardized ASTM testing. When we say our calculators use "DASMA formulas," we mean the exact mathematical relationships specified in these standards, with the correct material constants and geometric coefficients.
Real Results, Real Reviews
Every service backed by the same technical expertise you see on this page. Tap any card to see what our customers say.
In-Depth Topic Guides
Each topic page organizes our best articles, FAQs, quick facts, and related portfolio work into one deep-dive resource.
Garage Door Springs
Your springs counterbalance hundreds of pounds of door weight every single day. Understanding how they work, when they fail, and what replacement involves puts you in control — not in the dark.
Garage Door Openers
The opener is the brain of your garage door system. From classic chain-drives to Wi-Fi-connected smart units, choosing the right opener — and knowing when yours needs attention — saves money and headaches.
Maintenance & DIY Care
Most emergency repairs we see could have been prevented with basic maintenance. A 30-minute seasonal check catches problems when they're small — before they become expensive and inconvenient.
Garage Door Safety
A garage door is the largest moving object in your home and one of the heaviest. Understanding the safety systems built into modern doors — and testing them regularly — protects your family.
Buying Guides & Products
Buying a garage door is a 15–25 year decision. These guides help you compare materials, insulation values, styles, and features so you invest in the right door — not just the cheapest one.
Garage Screen Doors
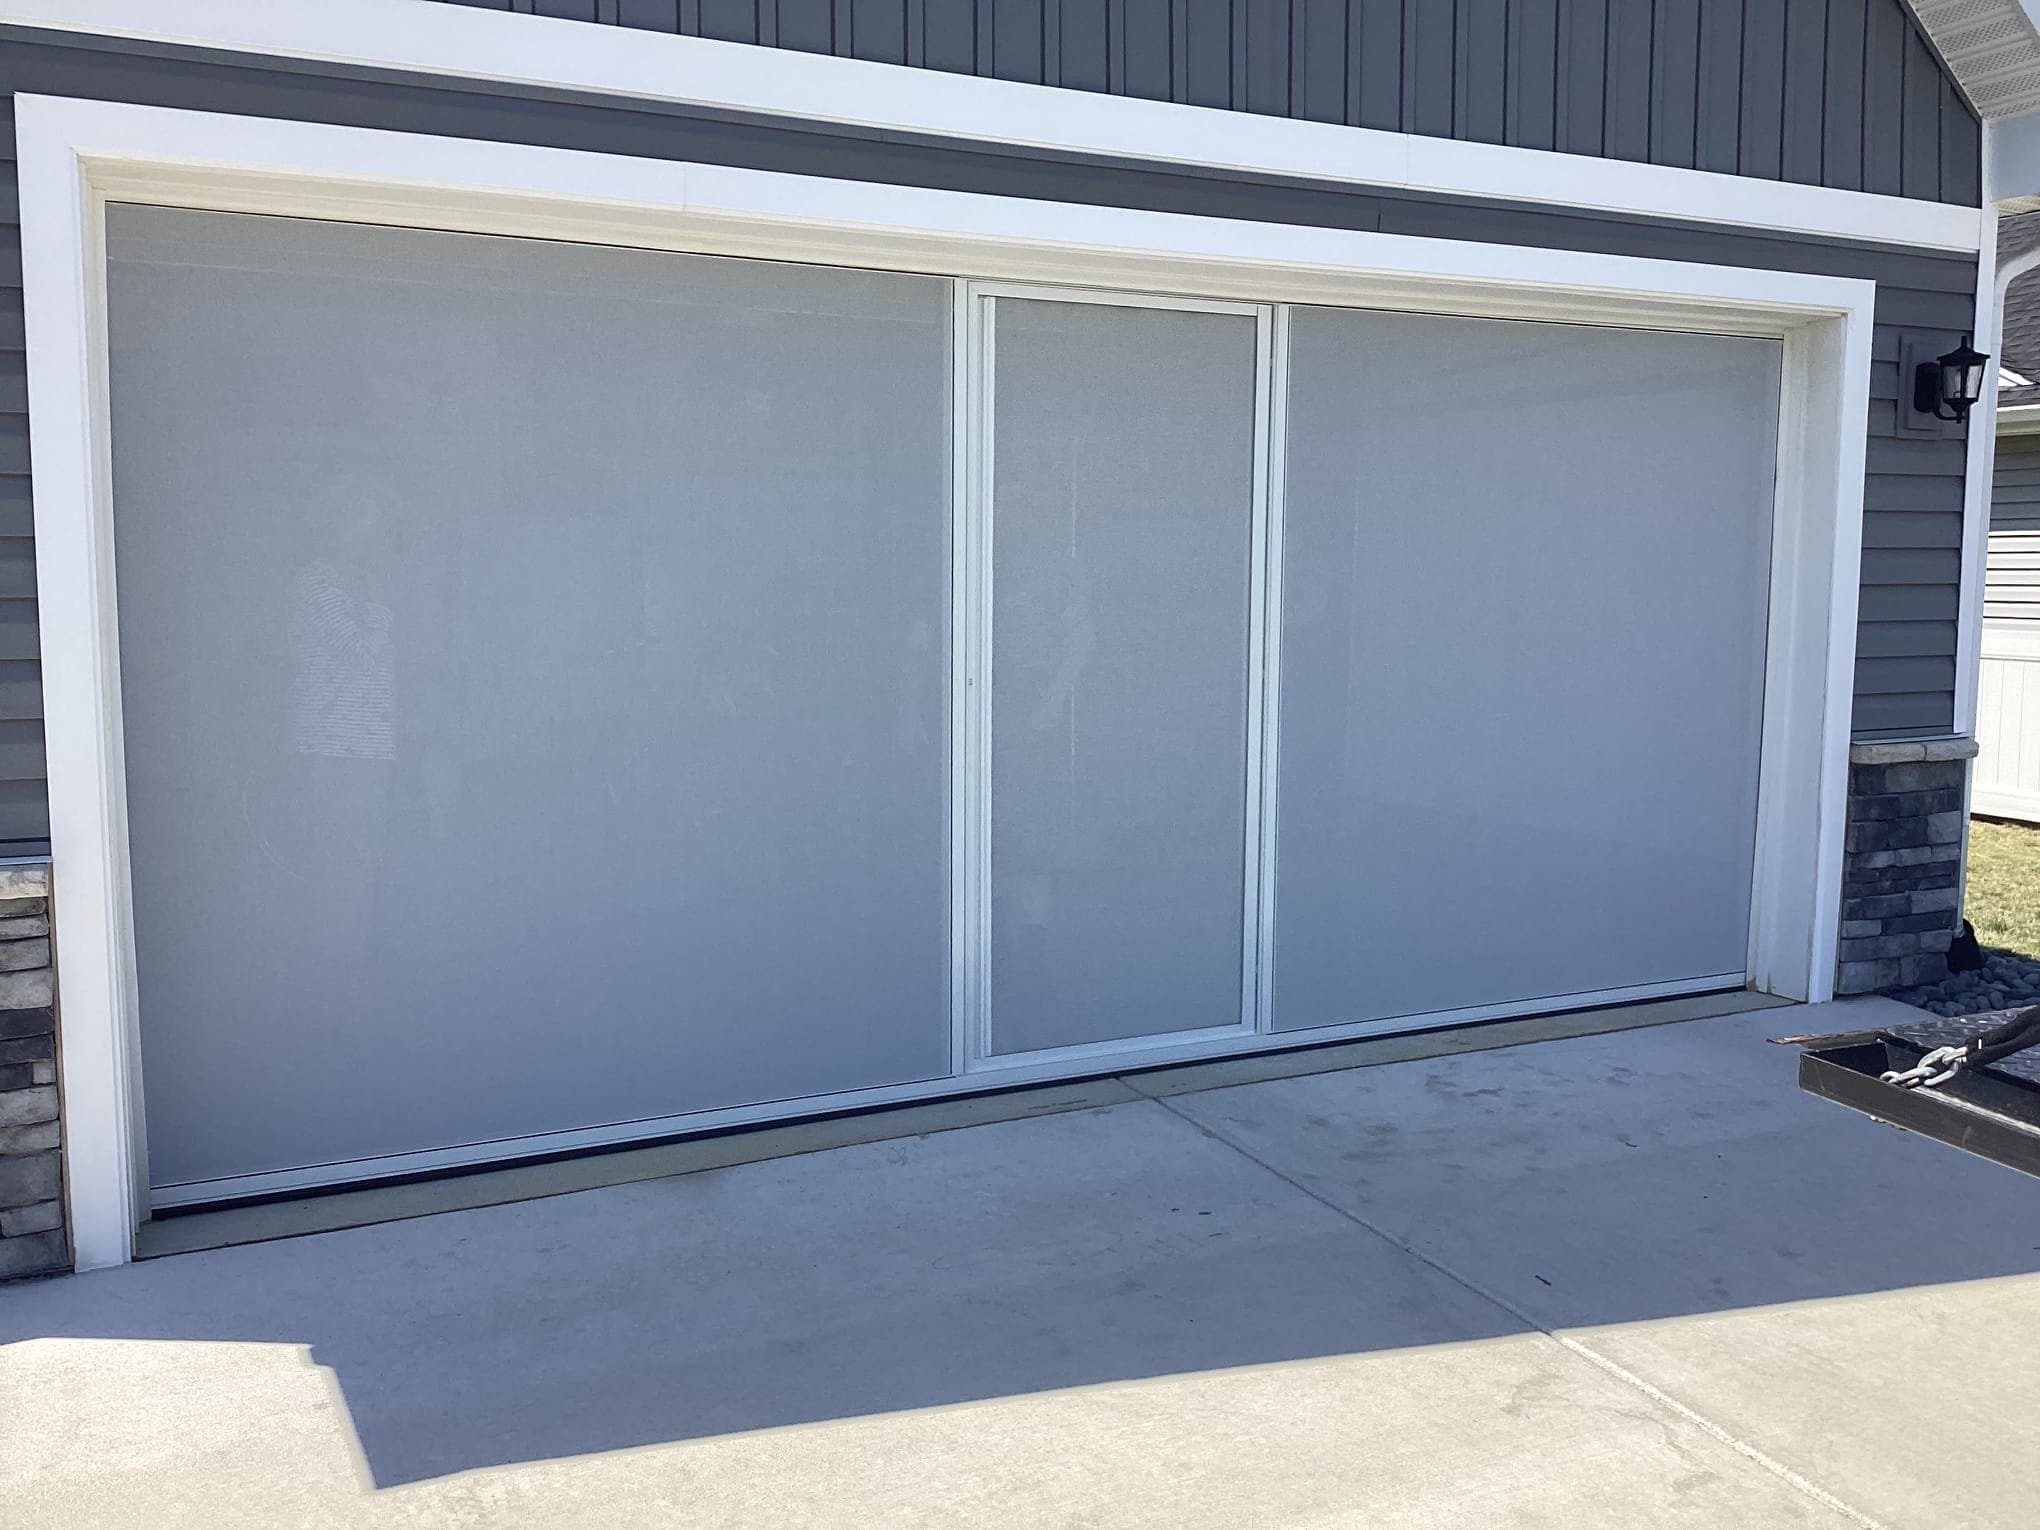
A garage screen door turns dead square footage into a bug-free workshop, gym, playroom, or hangout space. Motorized retractable screens disappear when you don't need them.
Want to browse everything?
View All Articles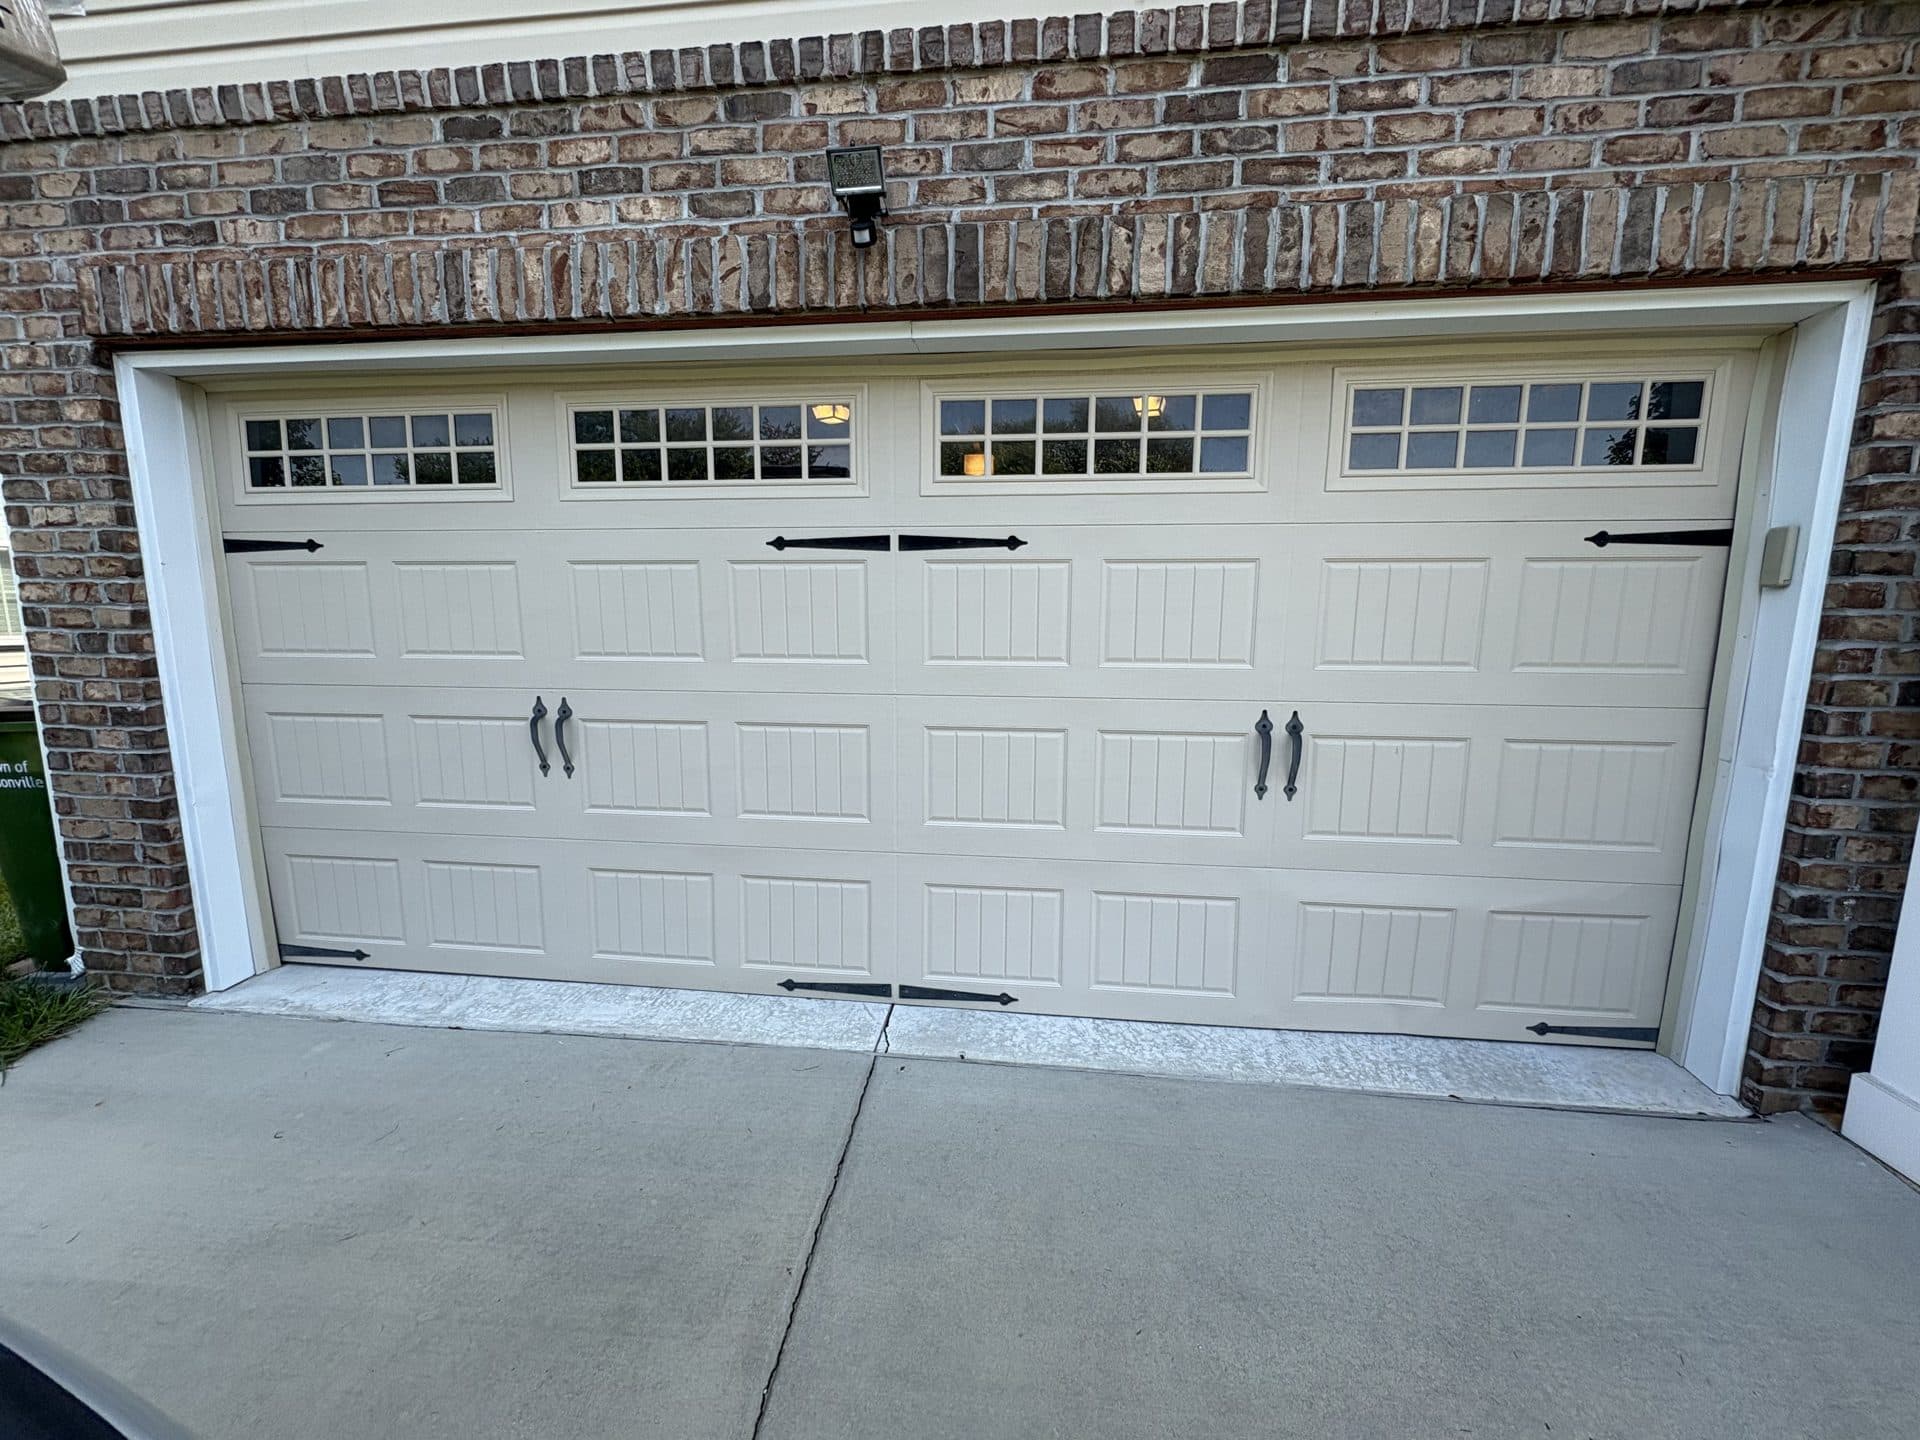
Why We Build This
Most garage door companies want you to call first and ask questions later. We think that's backwards. When you understand the mechanics — the spring physics, the track geometry, the electrical systems — you make decisions with confidence, not under pressure.
For industry professionals: these tools use the same DASMA formulas, ASTM wire specifications, and manufacturer data our own technicians reference daily. We built them because the garage door trade deserves better resources than what exists online.
Every tool, calculator, and guide on this site is written by technicians who work on garage doors every day in Burlington, Greensboro, High Point, and across the Piedmont Triad.